Men’s At-Home Manicure: A Step-By-Step Guide
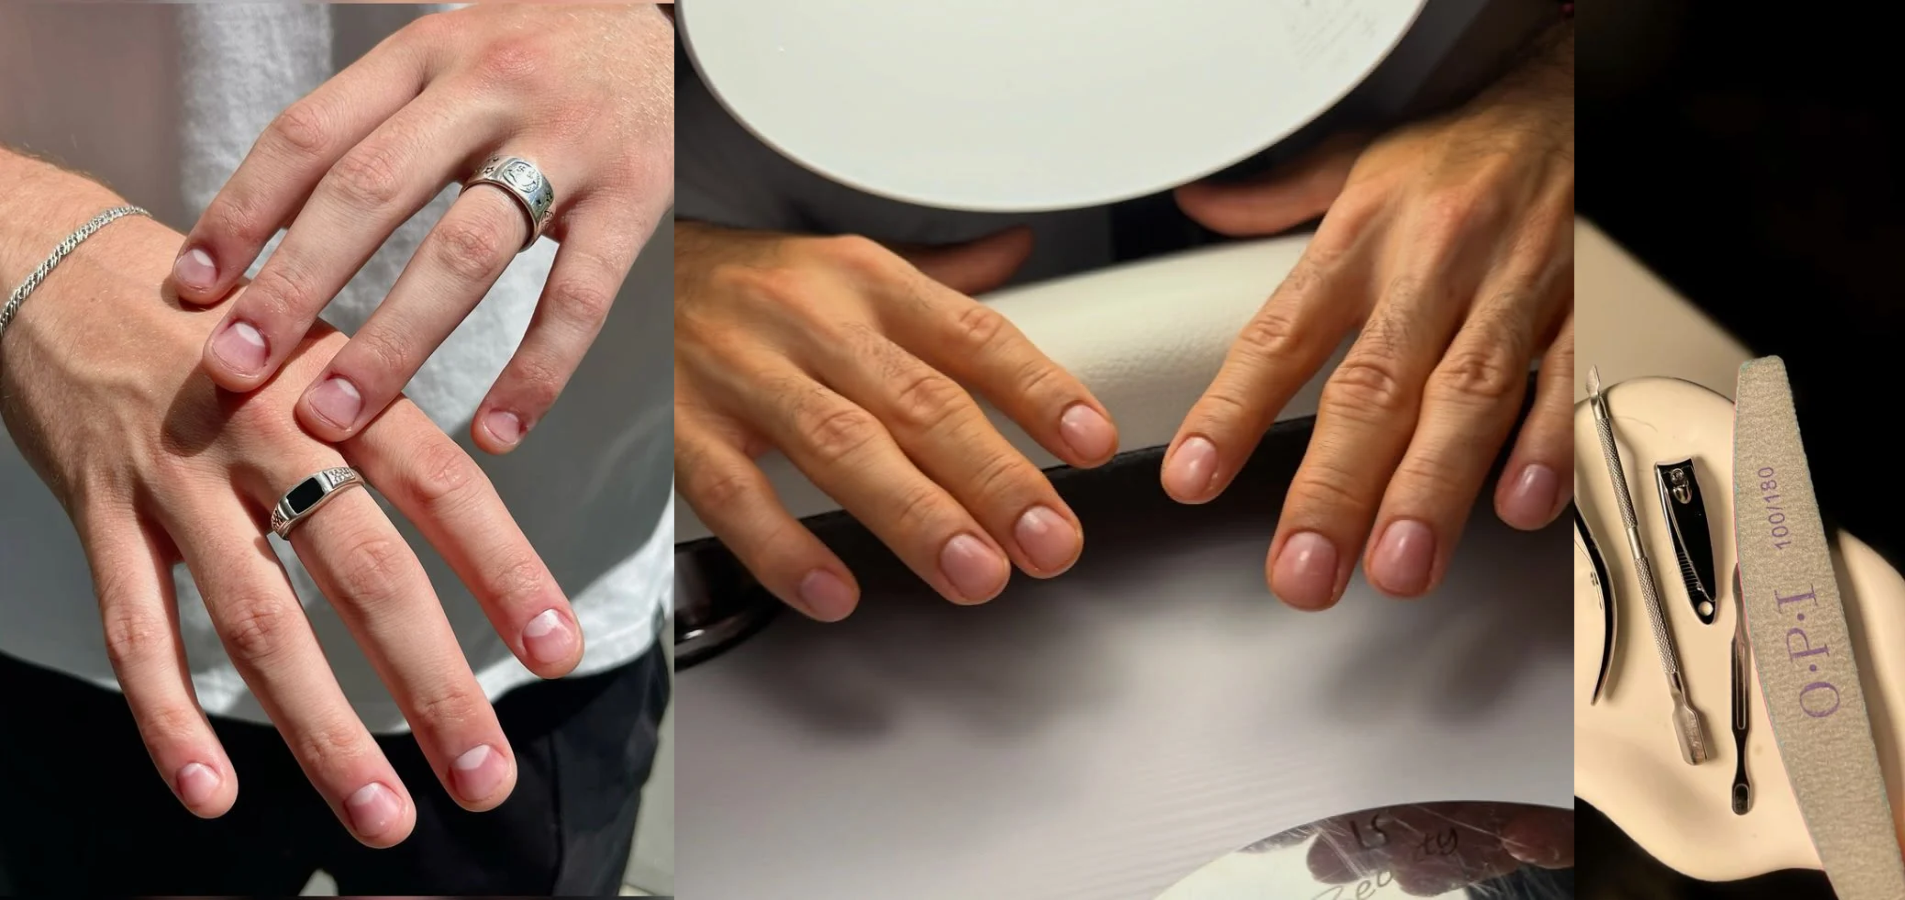


Well-groomed hands are a practical part of everyday personal care, whether you are meeting clients, working with your hands, attending an event, or simply keeping up with your grooming routine. A manicure does not have to involve a salon appointment, expensive equipment, or nail polish.
With a few basic tools, you can clean your nails, smooth rough edges, and moisturize dry skin at home. The goal of a men’s at-home manicure is simple: comfortable, neat nails that suit your preferences and daily activities. Natural-looking nails are a complete finish in themselves; polish and extra treatments are entirely optional.
Just as with a simple nail-care routine, a consistent approach to everyday skincare can help keep personal care manageable; see our Beginner’s Guide to Minimalist Skincare for more tips on keeping your routine simple.
You do not need a professional kit to get started. Gather these essentials:
Optional extras include cuticle oil or moisturizer, a soft nail brush, a suitable nail buffer and clear or matte nail polish. A wooden nail-cleaning stick may help remove loose surface debris but never use sharp tools to dig beneath your nails. Keep your tools clean and in good condition. Dermatologists recommend cuticles because doing so can increase infection risk. (American Academy of Dermatology {AAD})
Wash your hands with soap and water, gently removing visible dirt around the nail edges. Dry them thoroughly with a clean towel. If your nails feel hard, trimming them after a shower or briefly softening them with lukewarm water can make cutting easier.
Avoid aggressive scrubbing or digging beneath the nails with sharp objects. The aim is to clean the area without irritating the skin or damaging the tissue underneath the nail.
Skip this step if you have bare nails. If you are wearing polish, use a suitable nail-polish remover according to its label instructions. Do not scrape, peel, or force the polish off, as this can damage the nail surface.
Wash your hands afterward if the product instructions recommend it, then apply moisturizer. Many polish removers can dry the nails, so moisturizing afterward is sensible. (AAD manicure safety)
Use a clean, sharp nail clipper and remove lesser amounts at a time. Cut straight across, leaving a little free edge rather than clipping into the surrounding skin. Avoid cutting deeply into the corners.
For a natural-looking manicure, choose a length that feels comfortable and suits your routine. Someone who works with tools may prefer a shorter edge to reduce snagging, while someone else may prefer longer nails. There is no single correct length for every man.
Avoid cutting nails too short, biting off rough edges, or pulling at loose pieces. The AAD recommends trimming fingernails straight across, then slightly rounding the corners with a file to help prevent snagging.
After trimming, use a nail file or every board to smooth rough edges. Work gently in one direction rather than sawing back and forth, which can weaken nails. Slightly soften sharp corners while preserving the nail’s natural shape.
Check each edge with your fingertip for snags. A simple square or softly rounded shape works well, but you do not need to make every nail perfectly identical. Aim for a comfortable, consistent finish rather than an exact shape.
The skin around your nails helps protect the area from germs. Cutting cuticles or forcefully pushing them back can damage this protective barrier and increase the risk of infection.
Instead, leave your cuticles intact and apply hand cream or cuticle oil if the skin feels dry. Avoid metal tools that scrape the surrounding skin. You do not need to remove cuticles to achieve neat-looking nails.
How to manage hangnails: After washing your hands, use clean nail scissors or a suitable clipper to carefully remove only the loose, dangling piece of skin. Do not cut into attached skin or pull the hangnail off. If the area is painful, swollen or shows signs of infection, leave it alone and seek medical advice.
Wash your hands and use a soft nail brush if visible dirt stays. Gently clean along the free edges, rinse and dry thoroughly. Avoid digging beneath the nail with sharp objects or pressing hard with a cleaning stick.
Apply hand cream to your palms, the backs of your hands and the skin around each nail. Pay particular attention to dry areas at the sides of the nails. Add cuticle oil if you prefer and the product suits your routine.
Moisturizing after handwashing can help reduce dryness and keep nails flexible. Choose a cream that feels comfortable and suits your skin; a complicated product routine is not necessary. Moisturizers can help with dryness, but it will not necessarily correct every cause of nail damage or make nails grow faster. (AAD healthy-nail tips)
Building small, consistent habits into your personal-care routine can make everyday grooming easier; our Skincare-First Makeup Routine: A Step-by-Step Guide explores the same skincare-first approach.
Buffing is optional, not a requirement for healthy nails. A subtle fine buffer may make the surface appear smoother, but repeated or aggressive buffing can thin the nail plate.
If you choose to buff, use light pressure and avoid repeated passes. Skip it if your nails are thin, brittle, peeling or damaged. Clean, shaped nails can look neat without a glossy shine or any buffing at all.
Polish is a personal styling choice, not a requirement for a men’s manicure. You can leave your nails bare or choose a clear, matte, sheer, neutral, or colored finish.
For a transparent finish, make sure your nails are clean and dry. Apply a suitable base coat if the product instructions call for one, followed by a thin layer of polish. Let it dry according to the label, then add a compatible topcoat if desired. Drying times vary by formula, so do not rely on a fixed time estimate.
| Finish | Appearance |
| Bare nails | Natural, with no added finish |
| Clear coat | Subtle shine |
| Matte clear coat | Low-shine finish |
| Neutral or sheer polish | A slightly more even-looking color |
| Colored polish | A more expressive look |
If you wear rings, bracelets, or a watch, keeping your nails neat can complement your everyday accessories; explore our guide to Best Affordable Jewelry Brands for Everyday Wear for more styling ideas.
Choose the finish you enjoy—or skip polish altogether.
Remove visible debris from your tools and clean them according to the manufacturer’s instructions. For compatible metal clippers and scissors, follow the AAD’s guidance on disinfecting nail tools. Allow tools to dry completely before storing them in a clean, dry place. Do not assume that rinsing with water alone disinfects them.
Do not assume rinsing with water alone disinfects a tool. Avoid sharing manicure equipment unless it has been thoroughly cleaned and disinfected. Clean tools are especially important when they meet broken skin.
| Time | Task |
| 2 minutes | Wash and dry hands |
| 3 minutes | Trim nails carefully |
| 3 minutes | File rough edges |
| 2 minutes | Clean around nails gently |
| 3 minutes | Apply hand cream and optional cuticle oil |
| 2 minutes | Check the finish and clean tools |
There is no universal manicure schedule. Check your nails regularly and trim them when they become too long, uneven, or likely to catch on clothing or equipment. Depending on your nail growth and activities, trimming every week or two may be a useful starting point—not a rule everyone must follow.
Moisturize after handwashing or whenever your skin feels dry. Between full manicures, a quick trim, gentle filing, and hand cream may be all you need.
Routine grooming is not a substitute for medical care. Seek advice from a healthcare professional or dermatologist if you notice persistent pain or swelling, increasing redness or warmth, push, a new or changing dark streak in a nail, significant changes in nail shape or texture, or unexplained, persistent splitting. These signs can have different causes and should not be diagnosed through a grooming routine.
If you have diabetes or poor circulation, seek professional advice about nail problems rather than trying potentially damaging treatment yourself. (AAD nail-care guidance)
A good men’s at-home manicure does not require expensive tools or a complicated routine. Clean hands, carefully trimmed nails, smooth edges, and moisturized skin are enough to create a neat, comfortable finish. Leave your cuticles intact, avoid aggressive filing and seek professional advice if you notice persistent nail problems.
Keep the routine simple and consistent. Whether you prefer bare nails, a clear coat or a more expressive finish, the best manicure is one that suits your hands, your lifestyle, and your personal style.

I’m a fashion and entertainment writer specializing in celebrity style, red carpet fashion, beauty, and emerging cultural trends. My work combines fashion knowledge with editorial research to provide informed perspectives on the designers, celebrities, collections, and style moments shaping contemporary popular culture.